
If you follow my blog, you know that we are budget DIY enthusiasts. We created a DIY home-gym out of some empty storage space in the basement, provided tips about a DIY remedy for removing a “Stink in Your Sink” and of course, our DIY Peloton App experience.
Now it was time to turn our attention to our dated maple kitchen cabinets. We knew when we bought the house that we wanted new cabinets but what we didn’t realize was just how expensive new cabinets could be. Way outside of our budget.
After months of research, we decided to paint them ourselves. It was much more work that we ever anticipated but the cabinets came out beautiful and it saved us heaps of money. We owe it all to some old fashioned hard-work, elbow grease, loads of patience and of course, this special cabinet paint, but more on that later. I wish I took more pictures but I was usually up to my elbows in paint and dust and it didn’t dawn on me to grab my phone!
Here is a recap of our journey.
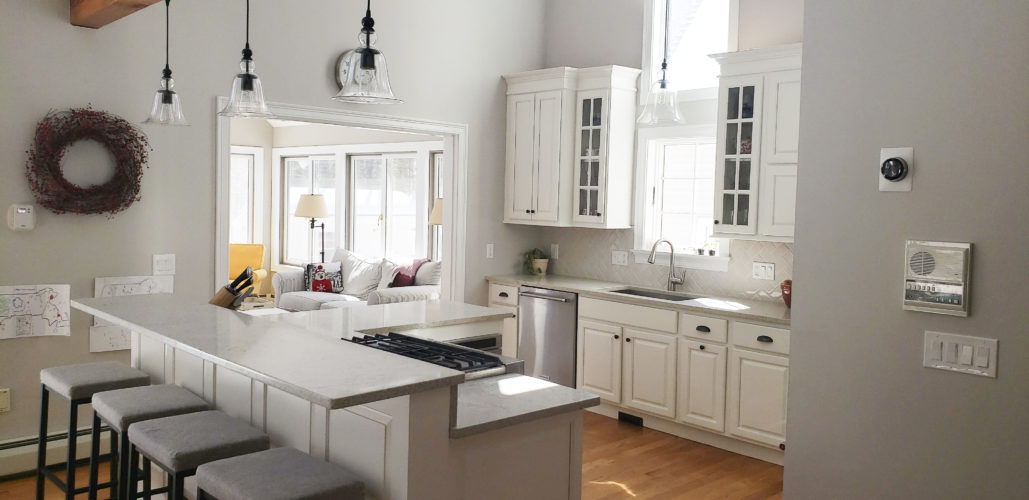
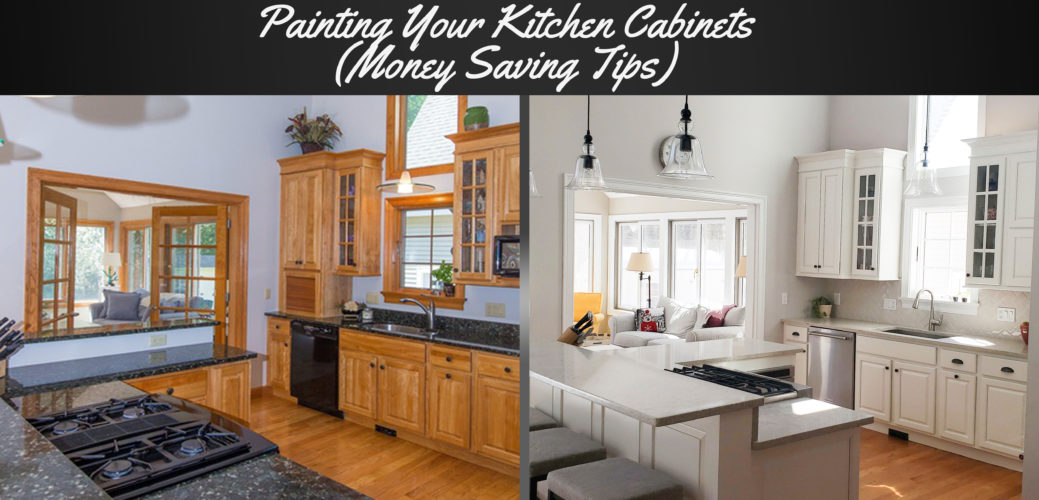
This is what our kitchen looked like when we bought the house. Lovely but just not our style. The pictures are from the real estate listing.
The Before Picture

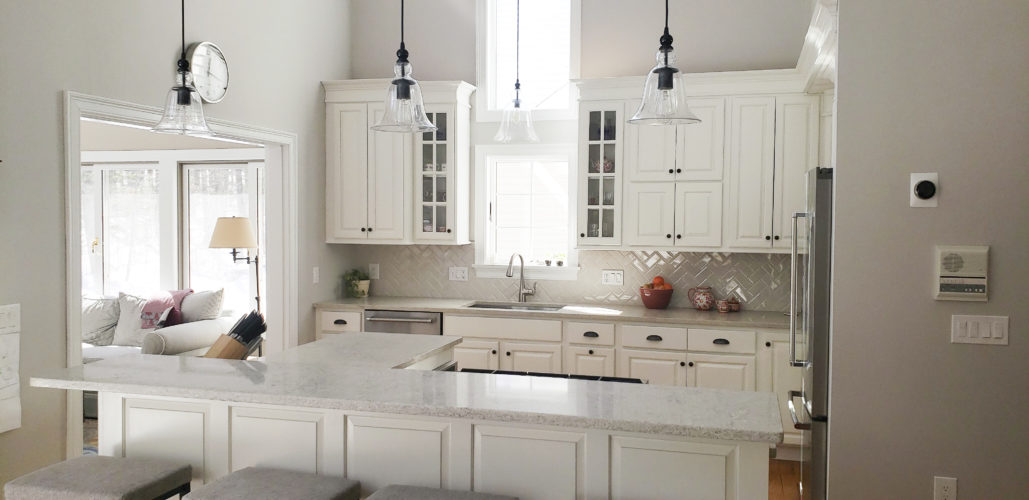
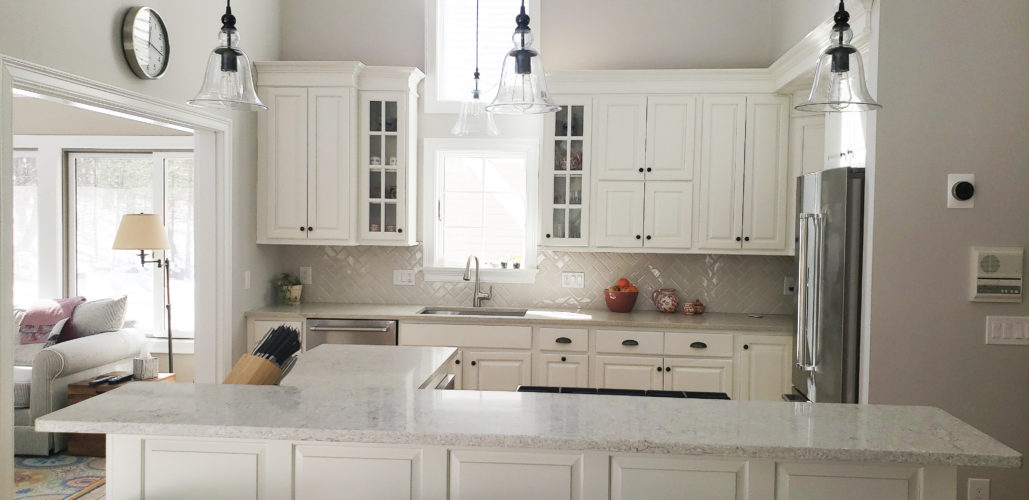
The After Picture
(Nice, right?)
Dedicated Work Space
Painting cabinets is very messy business. Instead of doing it all in the kitchen, we setup a workstation with canvas drop cloths in our garage and kicked the cars out for a few weeks. We had an old folding table and sawhorses that we used to lay things out. We also put plastic drop cloths over anything that we wanted to remain clean.
Remove Everything from Cabinets
And I mean everything! Pack up the dishes, bowls, silverware, etc. and remove them from the equation. Not having easy access to these things was truly a pain-in-the-behind, especially with two young children but an absolute necessity. If possible, you should also pull out any interior shelves.
Removal of Doors, Hinges and Knobs
Our first step was to remove the cabinet doors and hardware. IMPORTANT: you MUST number each door and place its corresponding hardware into plastic baggies. We learned the hard way that doors and cabinets will simply not look right if they are replaced out of order. Any hardware that is left behind should be covered with the blue painter tape.
Cleaning
Before painting, you need to clean everything you will paint. They may not look “dirty” per se but all kitchen cabinets have a buildup of grime on them from cooking. We used something known as Krud Cleaner for pre-paint cleaning. I suggest using gloves and goggles to avoid skin irritation. Cleaning was quite a long and tedious process but all part of the journey. The cleaning included not just what we removed, but all the cabinet shells on the wall.
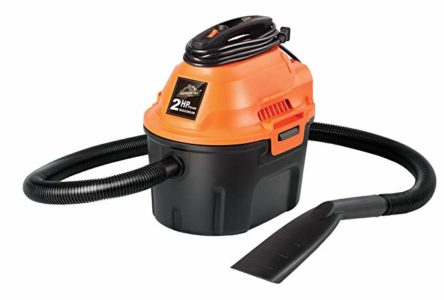
Sanding
Now that everything is clean, it is time to sand everything that you will be painting. We consulted our local hardware shop and they recommended 120 grade sandpaper to help scruff the surface to allow the primer to properly absorb. It is handy to have a power vacuum nearby to suck up the dust. We bought this small vacuum just for this kitchen project. Trust me, buy it. Sand lightly.
 This is a good time to fill any cracks, holes or other imperfections in the wood with some Elmer’s wood filler.
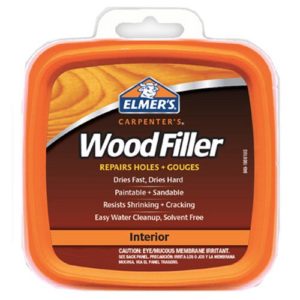
Priming
We used a Benjamin Moore Advance primer that came highly recommended. Many pros use a paint sprayer. We considered renting one but became a bit intimidated by its horsepower. So instead, we did it the old fashioned way with a 2 ½ inch fine bristle brush.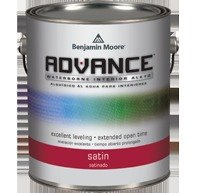
You need to paint everything – the doors, drawers and cabinet shells. There was a steep learning curve and mistakes along the way but we were fast learners. We primed all surfaces 2x as were not happy with what we saw after the first go-around. It may have been overkill but we wanted to get it right. Also, for all internal painting, make sure that you have taped plastic over your counters, spread a drop cloth on the floor, etc. We let each side cure for 24 hours before flipping and priming the other side. A tedious process that tested the boundaries of our marriage…
TIP: Paint the outsides of the cabinets and drawers last!
Painting.
Next it was time to paint. We used Satin White Cabinet paint. Again, we decided on three coats. One gallon covers 400-500 sq ft. We may have been able to get away with just two coats after the two coats of primer but we were playing it safe. We used the same style brushes. Anything that was removable was painted in the garage. Everything else had to be painted in the kitchen.
TIP: Remember to ventilate!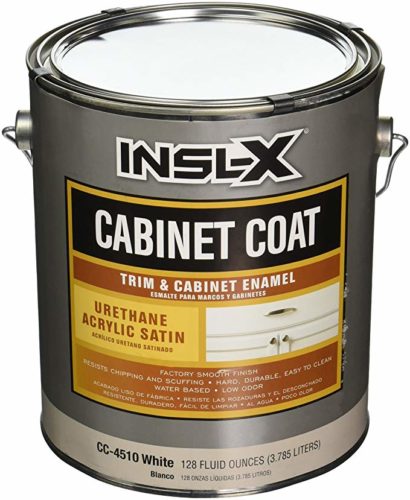
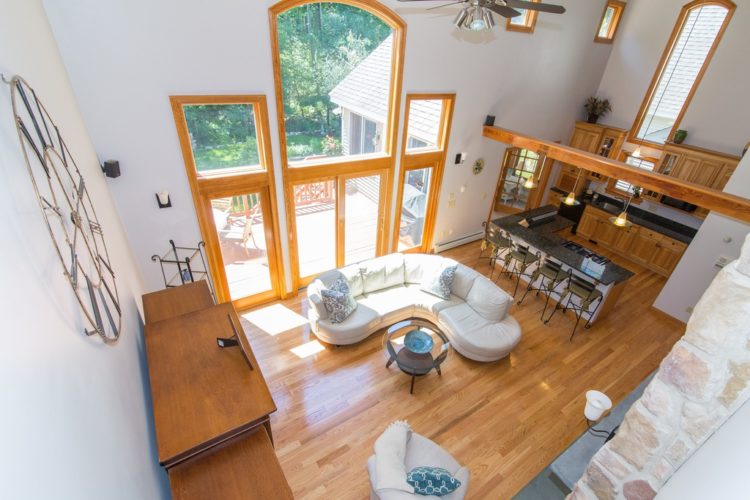
An Aerial Before Photo
(with former owners furniture)
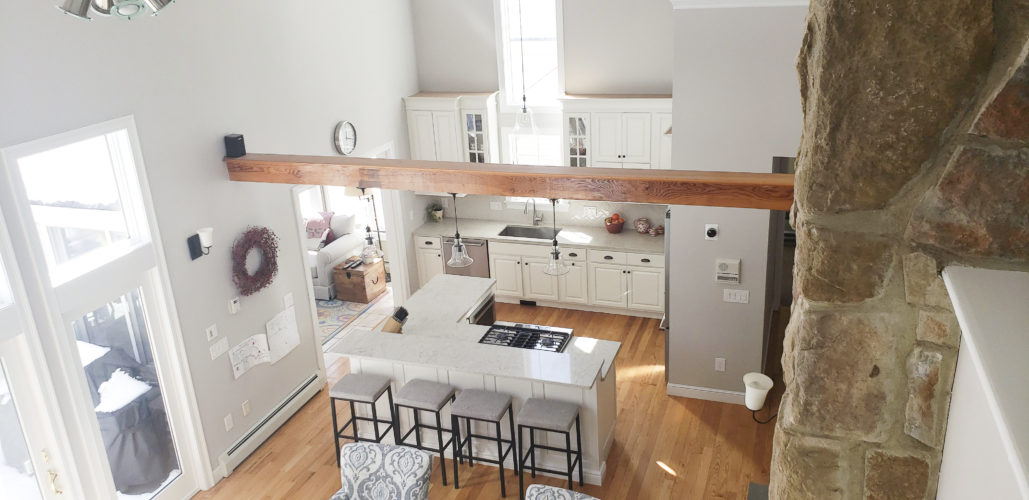
An Aerial After Photo
New Knobs and Handles
We also bought new knobs and handles to give the kitchen an updated look.
Reassembly
Once everything has been painted and dried, it was time to reinstall all the doors, drawers and hardware. To get everything back just right took us much longer than expected (lots of little hardware tweaking) and we are sure glad we marked and numbered all the pieces that we removed. It made things much easier to reassemble.
Kitchen Island – Before

Kitchen Island – After

Other Bits and Bobs
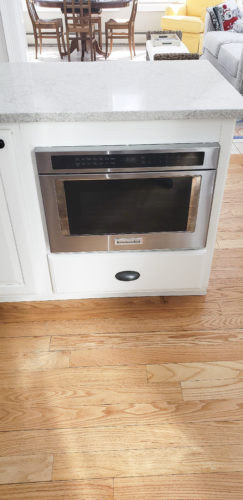
We also had granite replaced with a lighter color to brighten up the room and had this KithenAid microwave drawer installed into the kitchen island which gave us more cabinet space. It opens with a push of a button and saves us a ton of space. We hired professionals for this part of the job.
Microwave Installed in Island
Microwave Open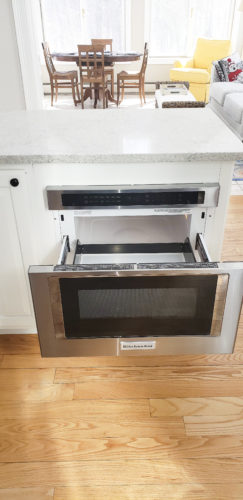
KitchenAid Refrigerator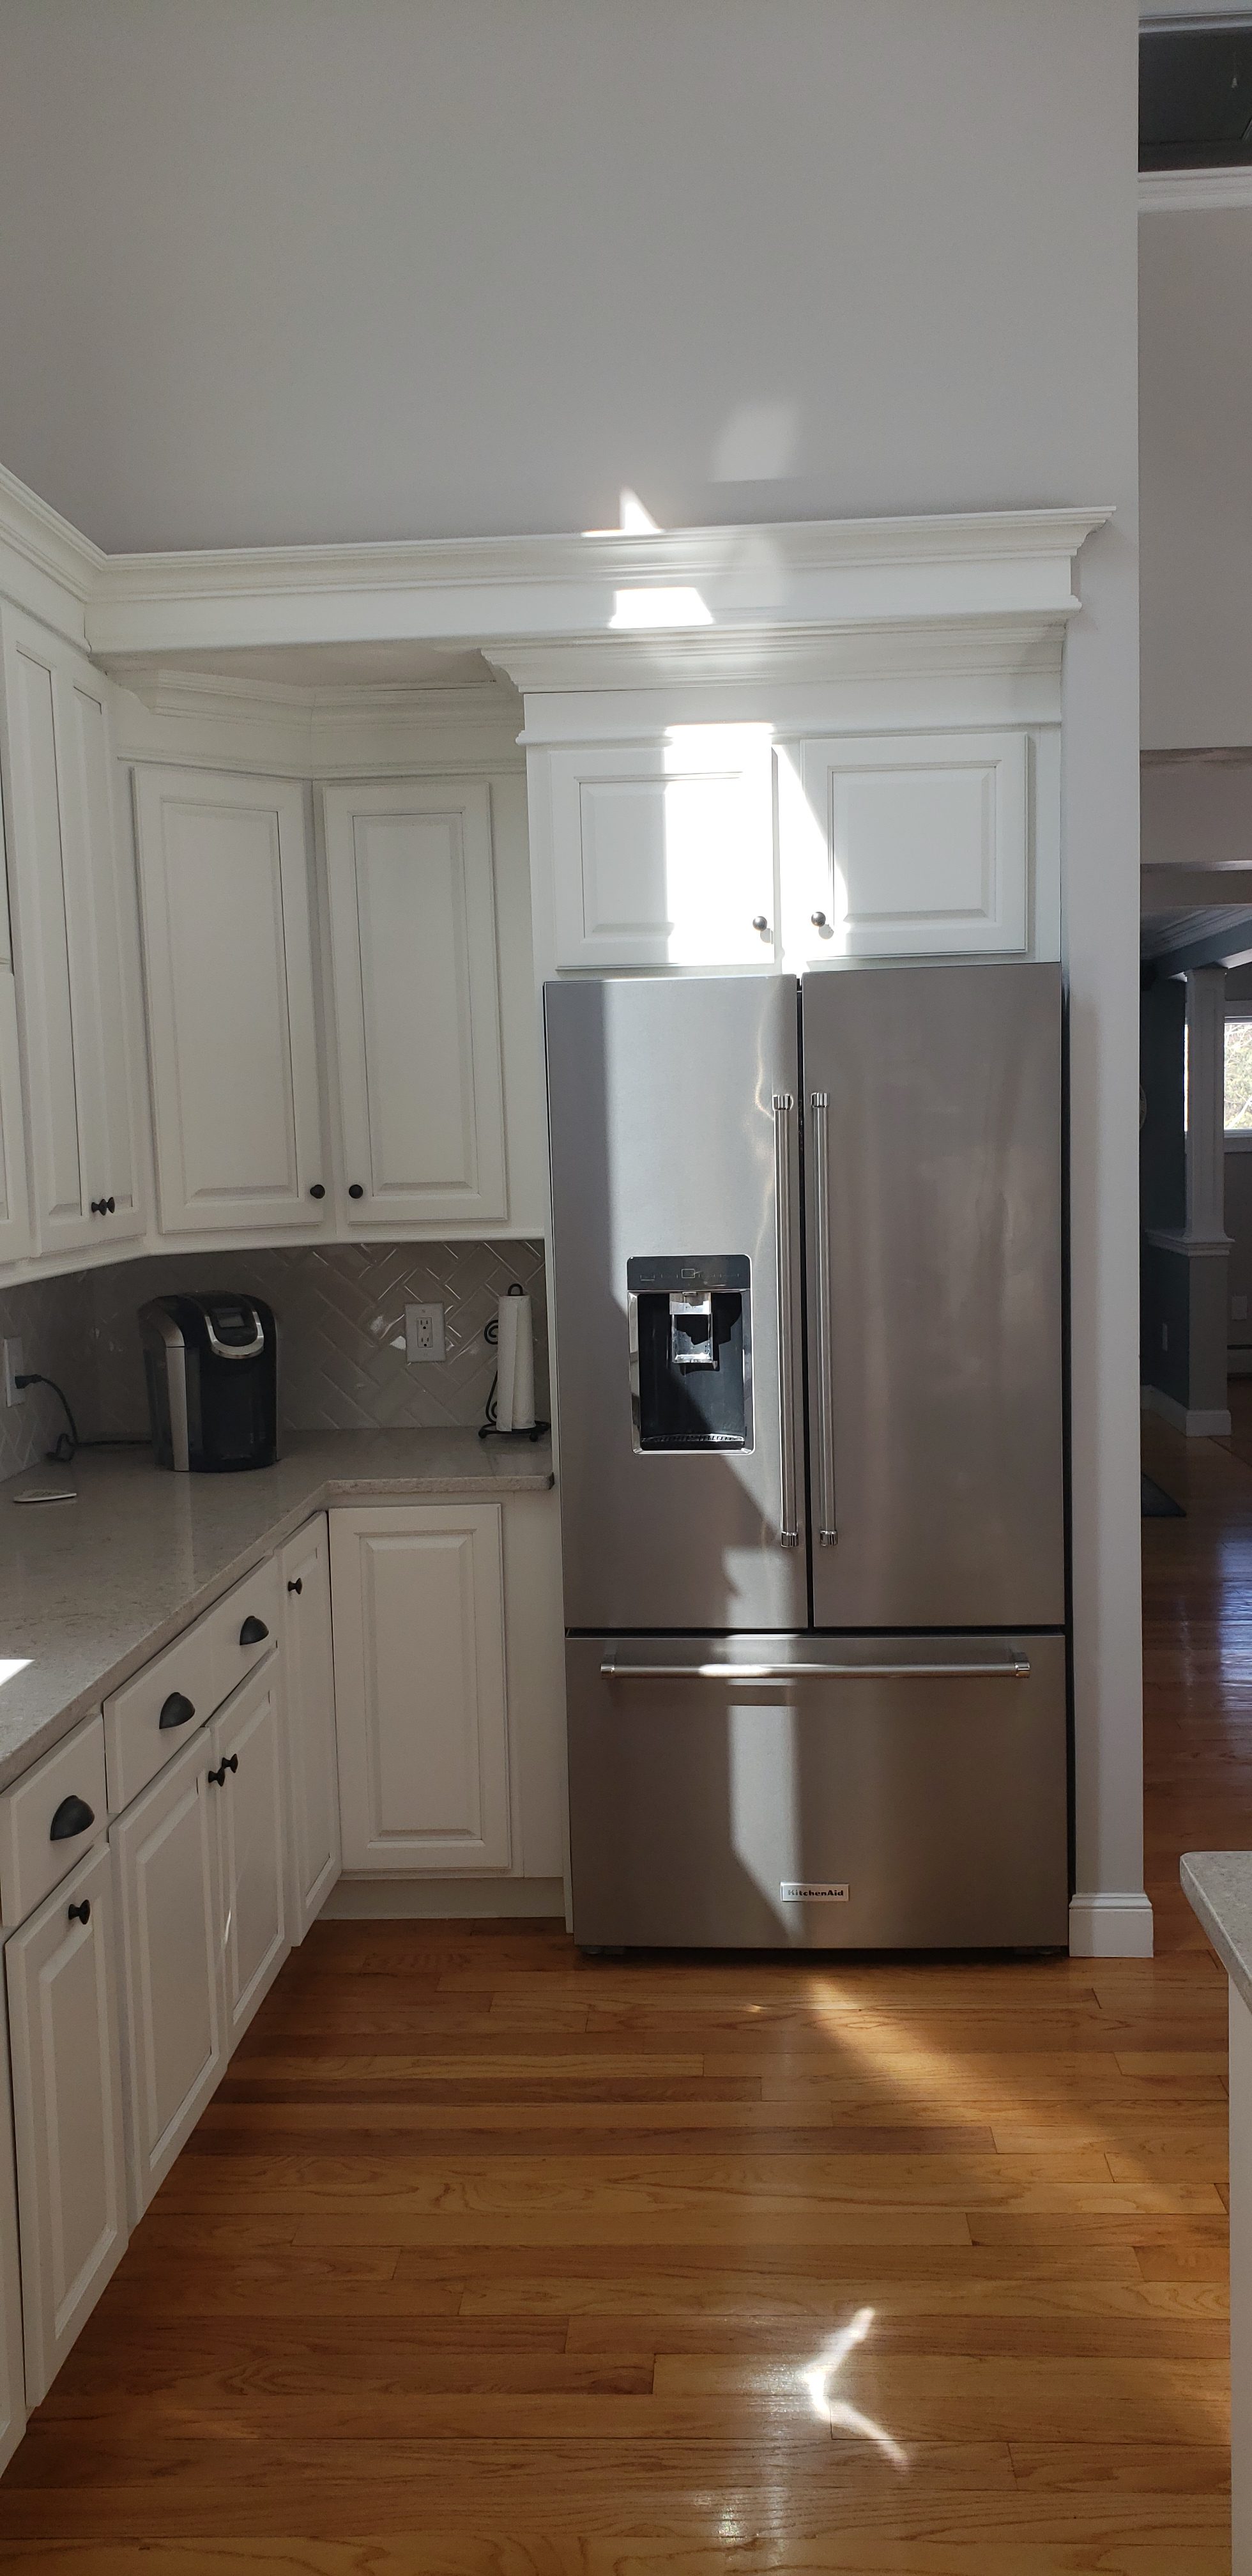
And some new lights to hang above the island bar.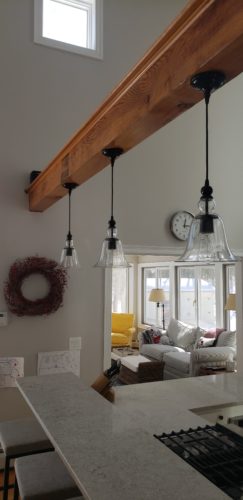
Final Thoughts
The process took us about five weeks from beginning to end. The prep work – the removal, priming and sanding – took us MUCH longer than we anticipated. The painting was long and arduous. Five weeks is a long time to have your kitchen in disrepair. And at times, we were at each other’s’ throats (sorry hon!).
Are we happy that we painted instead of spending tens of thousands of dollars on new cabinets? Definitely. Will we ever do it again? Never! Something like this is better left for the professionals, although we are very pleased with the finished product.
Let me know if you have any questions!
Beth
Disclaimer: My Sipping & Shopping blog is a participant in the Amazon Services LLC Associates Program, an affiliate advertising program designed to provide a means for me to earn fees by linking to Amazon.com and affiliated sites.
Knowing what you know now, would you use a professional cabinet painting service?
Hi Dave,
Absolutely! This is one for the professionals!
Beth
looks great! I choose to refinish my cabinets by replacing them. I used nudoors.com for the refacing project and it came out great since I didn’t like the door style I currently had in my kitchen.
Looks great!
This is a very informative blog, thanks for sharing about Painting Ugly Cabinets White. I liked it and it is wonderful to know about so many things that are useful for all of us! Thanks a lot for this amazing blog!!
Thanks!
Happy painting!
Beth
You’re very generous with your knowledge and advice on painting cabinetry; I appreciate it. It’s incredible how dramatically the appearance of a kitchen can change after being painted. Thank you for the in-depth guide on painting and preparing cabinetry. Helpful, too, are your suggestions for making do with inexpensive supplies and equipment. Well done!
Thank you for the note!
Happy painting!
Beth
Sipping and Shopping’s money-saving tips for painting cabinets are very practical and easy to follow. The author’s experience and advice on painting cabinets white are inspiring, and I appreciate the cost-saving tips. I’m looking forward to trying out some of these tips on my own cabinets. Thank you for sharing your expertise!
Thanks Auckland house painters!
Happy painting!
Beth
Sipping and Shopping’s post on painting cabinets white is a practical guide for those aiming to transform the look of their kitchen. The money-saving tips shared in the article offer budget-conscious readers actionable advice on achieving a fresh and stylish cabinet makeover. The post’s engaging writing style and personal anecdotes create a relatable and informative read for anyone considering a cabinet painting project.
Um. Thanks!
Happy painting!
Beth
I just read your blog post on painting ugly cabinets white, and I’m blown away by the transformative power of a fresh coat of paint! Your money-saving tips are not only practical but also demonstrate that a budget-friendly kitchen upgrade is entirely achievable. The detailed breakdown of the process, along with the before-and-after pictures, provides a clear roadmap for anyone considering a similar project. I appreciate the emphasis on the importance of thorough preparation and the use of affordable yet effective products. Your transparency about the challenges faced during the painting process adds a relatable and authentic touch to the… Read more »
Thanks Sharky!
Happy painting!
Beth